Review images in a PDF (all six steps)
Find the images in a PDF, decide which ones need alt text, analyze them, and export the results. Drawing regions and importing whole pages are covered in Regions and pages.
The steps use the invented two-page sample PDF. Use the four-page practice PDF to practise moving between page windows. Both are untagged discovery and classification exercises; checking existing PDF alt text is covered separately.
You will need: an AlternativeText beta account and a PDF up to 50 MB. Time: about 15 minutes for a short document.
1. Upload
Drop a PDF onto the upload area (or click to choose it). Page previews are generated three pages at a time and Prepare opens. Remove document removes the active PDF, its previews and the images/results imported from that PDF, and returns to Step 1 · Upload. Export first if you need those active results. Unrelated uploaded images and saved packages/history are kept.
2. Prepare
The Generator automatically looks for images in the PDF as each set of page previews becomes available — you will see Finding images… while it works. You can keep navigating; you do not have to wait. Pages whose search has finished are remembered, so going back does not repeat the search. To jump to a page or find pages with images, see Move around a long PDF.
3. Classify
Each detected image appears as a candidate card. Two filters control what you see:
- Suggested images (default) — images embedded in the PDF, which usually need a decision.
- All detected — also shows detected regions of pages, which may duplicate an embedded image or pick up layout graphics.
For each candidate, choose a classification under Select decision…:
| Decision | Meaning | What Apply does |
|---|---|---|
| Informative — needs alt text | Conveys information | Added to the queue for analysis |
| Logo — brand mark / seal | A logo | Added to the queue for analysis |
| Decorative — no descriptive alt needed | Adds no information | Dismissed |
| Artifact — ignore / layout noise | Not real content | Dismissed |
| Unsure — decide later | Not yet decided | Stays listed |
Your choices are remembered if you leave and come back. Skip dismisses a candidate without classifying it.
When you have classified the candidates on the current pages, select Apply candidate decisions. You stay in Prepare/Classify, including on a two-page PDF or the final page window. Apply never starts analysis. Continue through remaining pages with Next pages ›, or explicitly select Proceed to Step 4 · Configure when available. Adding more than eight candidates at once asks for confirmation first.
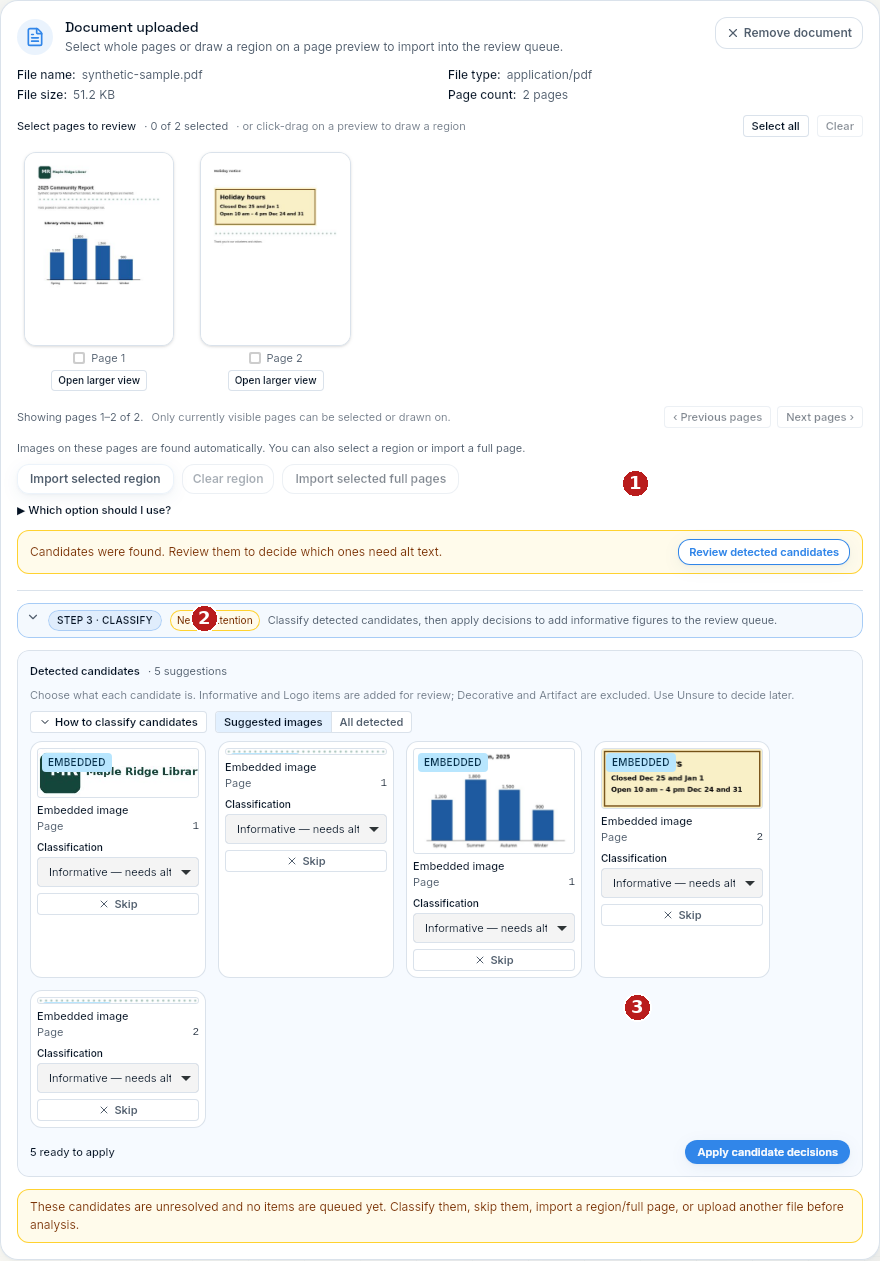 1 Review detected candidates opens the candidate list. 2 Classification selects an intake decision. 3 Apply candidate decisions adds eligible images to the queue. This illustration uses disposable informative choices, not recommended decisions for every graphic.
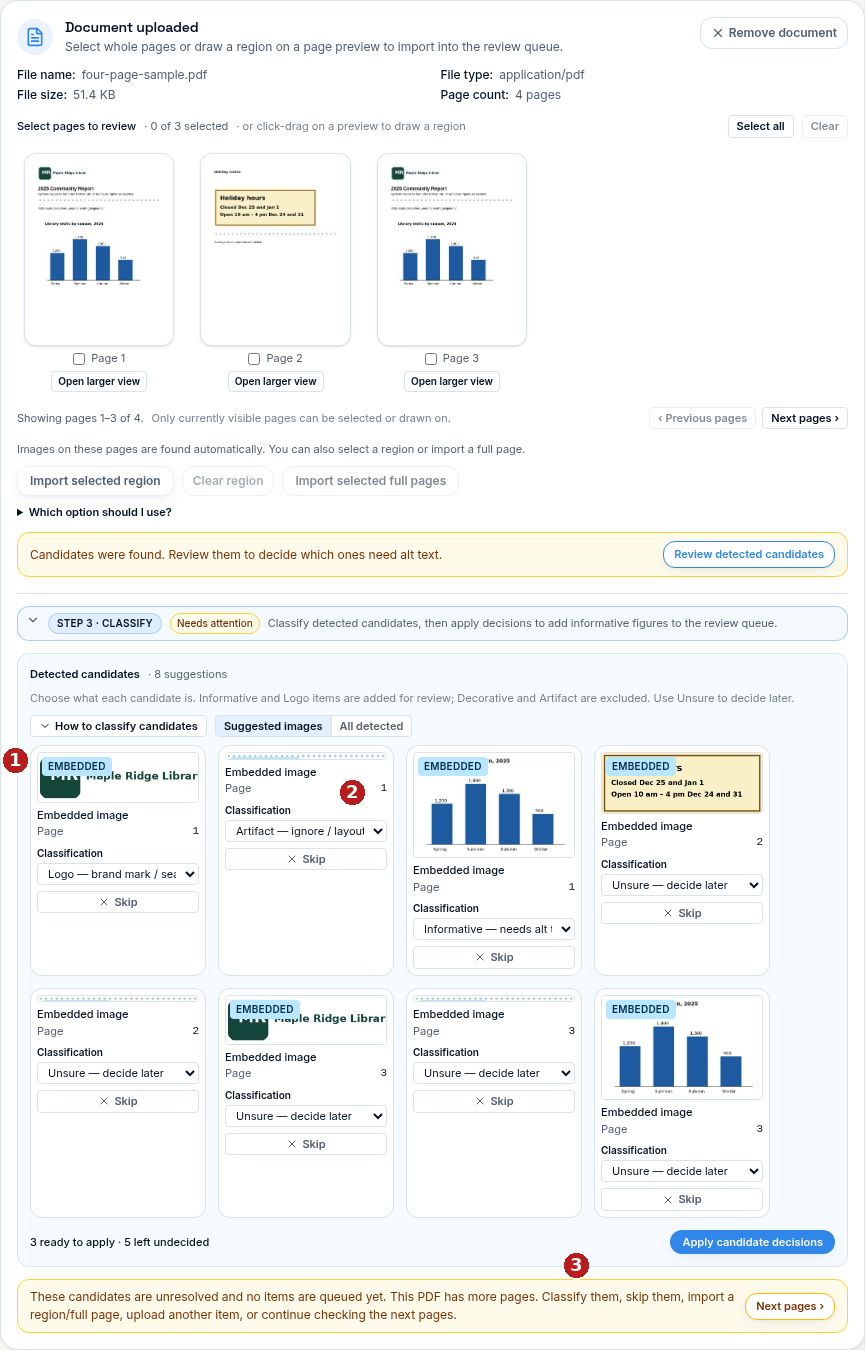 1 Choose Logo for the library mark and Artifact for the empty graphic. 2 Choose Informative for the chart. 3 Apply the ready decisions; Unsure entries stay pending. These are practice choices—decide from your own document's purpose.
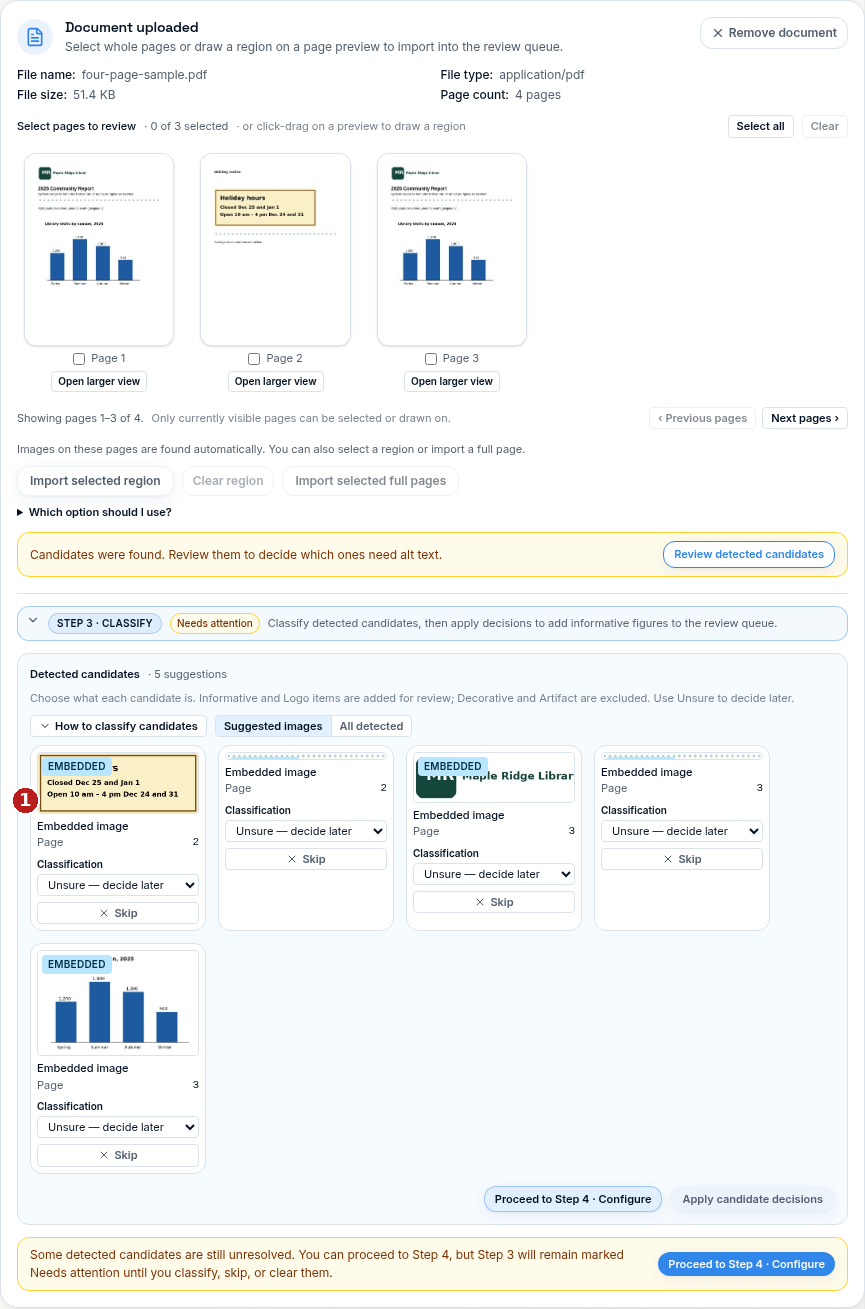 1 Unsure remains selected after visiting Configure and returning to Classify. Applied and dismissed candidates no longer appear.
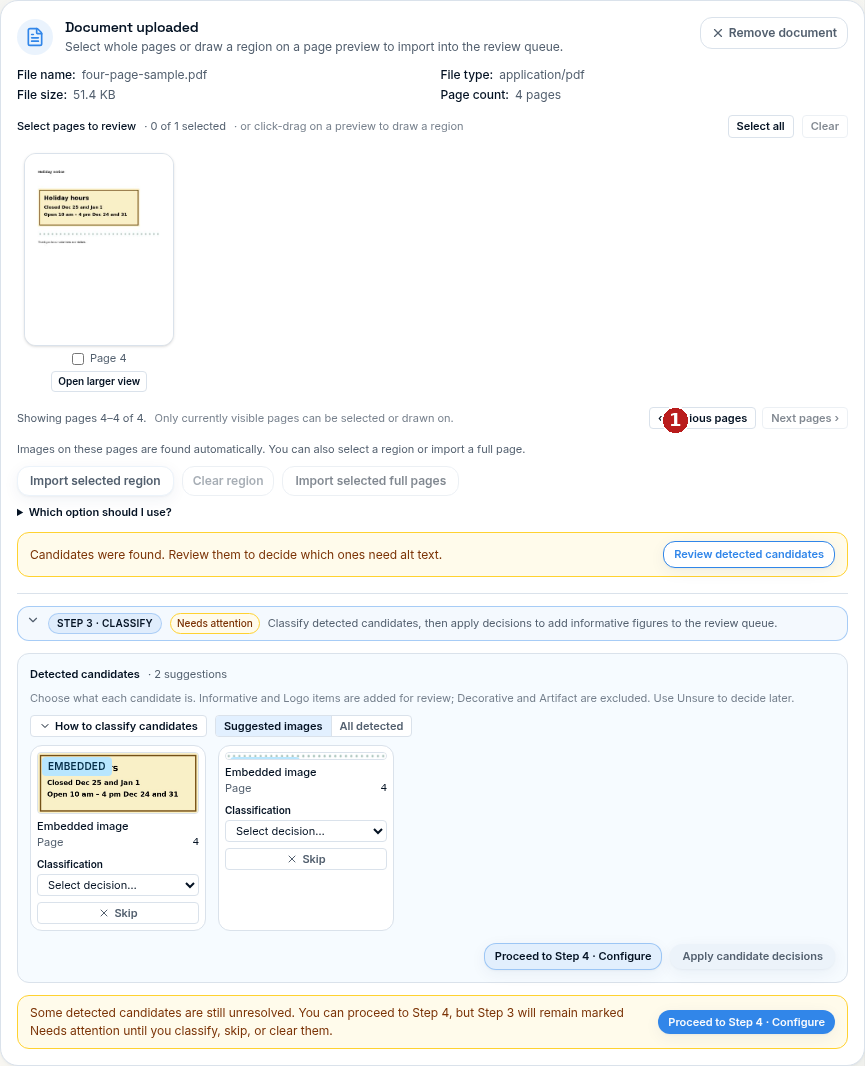 1 Previous pages returns to pages 1–3. On page 4, Next pages is disabled because this is the final window. Classify and Apply here without starting analysis.
 1 Only Proceed to Step 4 · Configure advances from this final-window handoff. You still need Analyze all in Configure to start analysis.
Classifying a candidate here is an intake decision about whether the image needs alt text. It is different from the Classification field on an analyzed result in Step 5 — see Candidate vs result classification.
4. Configure
Check the settings (Description style, Standards, Use case lens, Output language, Document context) and select Analyze all under the Run Analysis heading. Settings apply to every item in the run; see Analyze and review one image.
5. Review
Review each result as in the focused workflow — see Analyze and review one image. For PDF images, the result also shows Existing PDF Alt: whether the PDF already had alternative text for that image, shown as Found (with the existing text quoted), No existing PDF Alt found, or Unable to determine. This check runs automatically and is read-only.
6. Export
Step 6 · Export offers the batch exports — CSV, JSON, Audit Report and ZIP — with PDF page and region details included where available. See Exports.